Atlas Obscura’s DIY Holiday Gift Guide
Why blow hundreds of dollars on gifts this season when you can create wonder right at home?
It’s that time of year again, when the pressure to pick out cool gifts for friends and family can become a crushing weight. But rather than letting the stress of the season get to you—and your wallet—let Atlas Obscura help with some great ideas for heartfelt DIY gifts that you can make with relatively little investment of time or money. Whether you are looking for the perfect curio for the bookhound in your life or a one-of-a-kind keepsake for a beloved nature-lover, our staff has worked up a series of how-to guides for the coolest homemade gifts around. This season, create a gift that will make them wonder why anyone would go to a store.
Make a Chlorophyll Photo Print
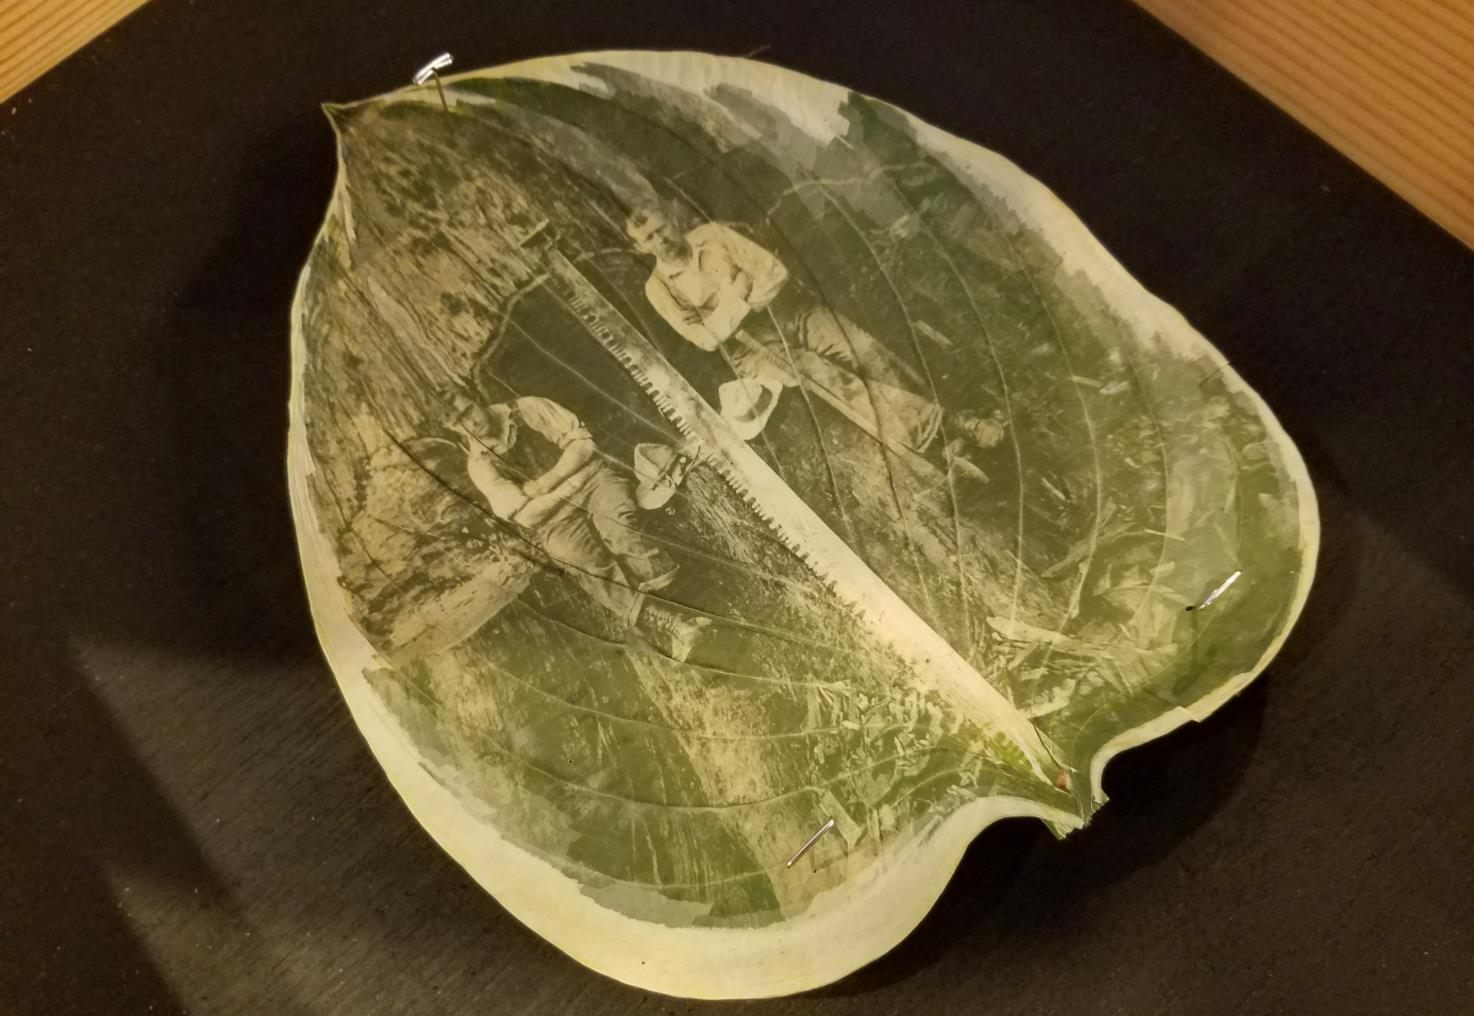
Chlorophyll prints are an alternative form of photography that require only sunshine, freshly picked leaves, and a contact printer, which can easily be acquired through eBay, Adorama, and other online vendors. No additional photo emulsion necessary.
How to:
- Take a digital photo of your choice and convert it into black and white. Boost the contrast to highlight darks and lights. Print it on a piece of plastic transparency (the kind used for overhead projectors). Your local copy shop can do this for less than a dollar.
- Harvest some leaves. Hosta, broccoli, blackberry, and gingko all work well. Set up your printing station while the leaf is still supple and green.
- Place the plastic transparency (your “positive”) on top of your leaf and sandwich them together in the contact printer. Seal up the back.
- Leave it in direct sunlight for several hours. This works best in the summer. In strong sunlight, your leaf will print in four to six hours—you’ll see parts of it turn yellow as the green bleaches out. Some condensation may form inside the glass of the printer. You can even pop open one side of your contact printer to examine the leaf’s progress. If it is cloudy, it may take two days for the print to take shape, but it will not work under hazy or smoky conditions.
Shin Yu Pai
Deputy Head of Obscura Society
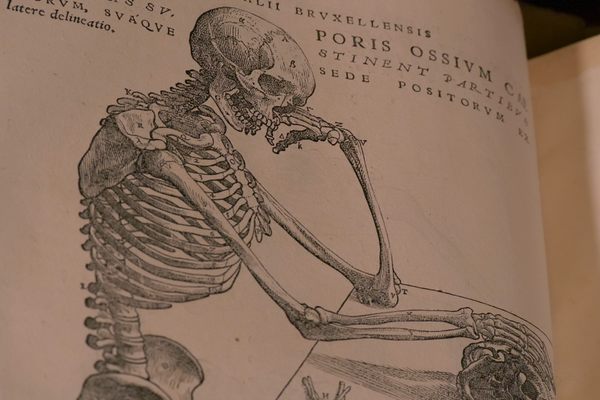
Scribble in a Personally Annotated Book
Keeping with a long tradition of communication in marginalia, I like to buy a new copy of a favorite book and fill it with notes addressed to the recipient. Plenty of your notes will be about what is on the page, but feel free to ramble on about you and your correspondent’s past together.
I recommend giving one of your favorites, since your goal is to leave some of yourself on your loved one’s bookshelf. For next year, consider making a reading list, with the intention of annotating them for specific people as you go along. This is a great tactic for the selfish or cash-poor gift-giver, since it’s cheap and you wanted to read the books anyway, in addition to being a surefire hit with any avid reader.
How to:
- Grab a relatively pristine copy of one of your favorite titles.
- Grab an acid-free ink pen, or perhaps several in varying colors.
- Type up an introductory note, and any longer notes you know you’ll want to include. It’s no fun to try to start a long, handwritten note only to realize you made a glaring error.
- Hand write your introductory note on the flyleaf. Doodles are encouraged here. Feel free to think of this as an illuminated manuscript.
- Work your way through the book, annotating as you see fit. You don’t need to fill it or keep a regular pace, these are just as much places for your friend to thumb open years from now as notes to them in their first reading.
Luke Thomas
Developer
Engrave a Timeless Keepsake
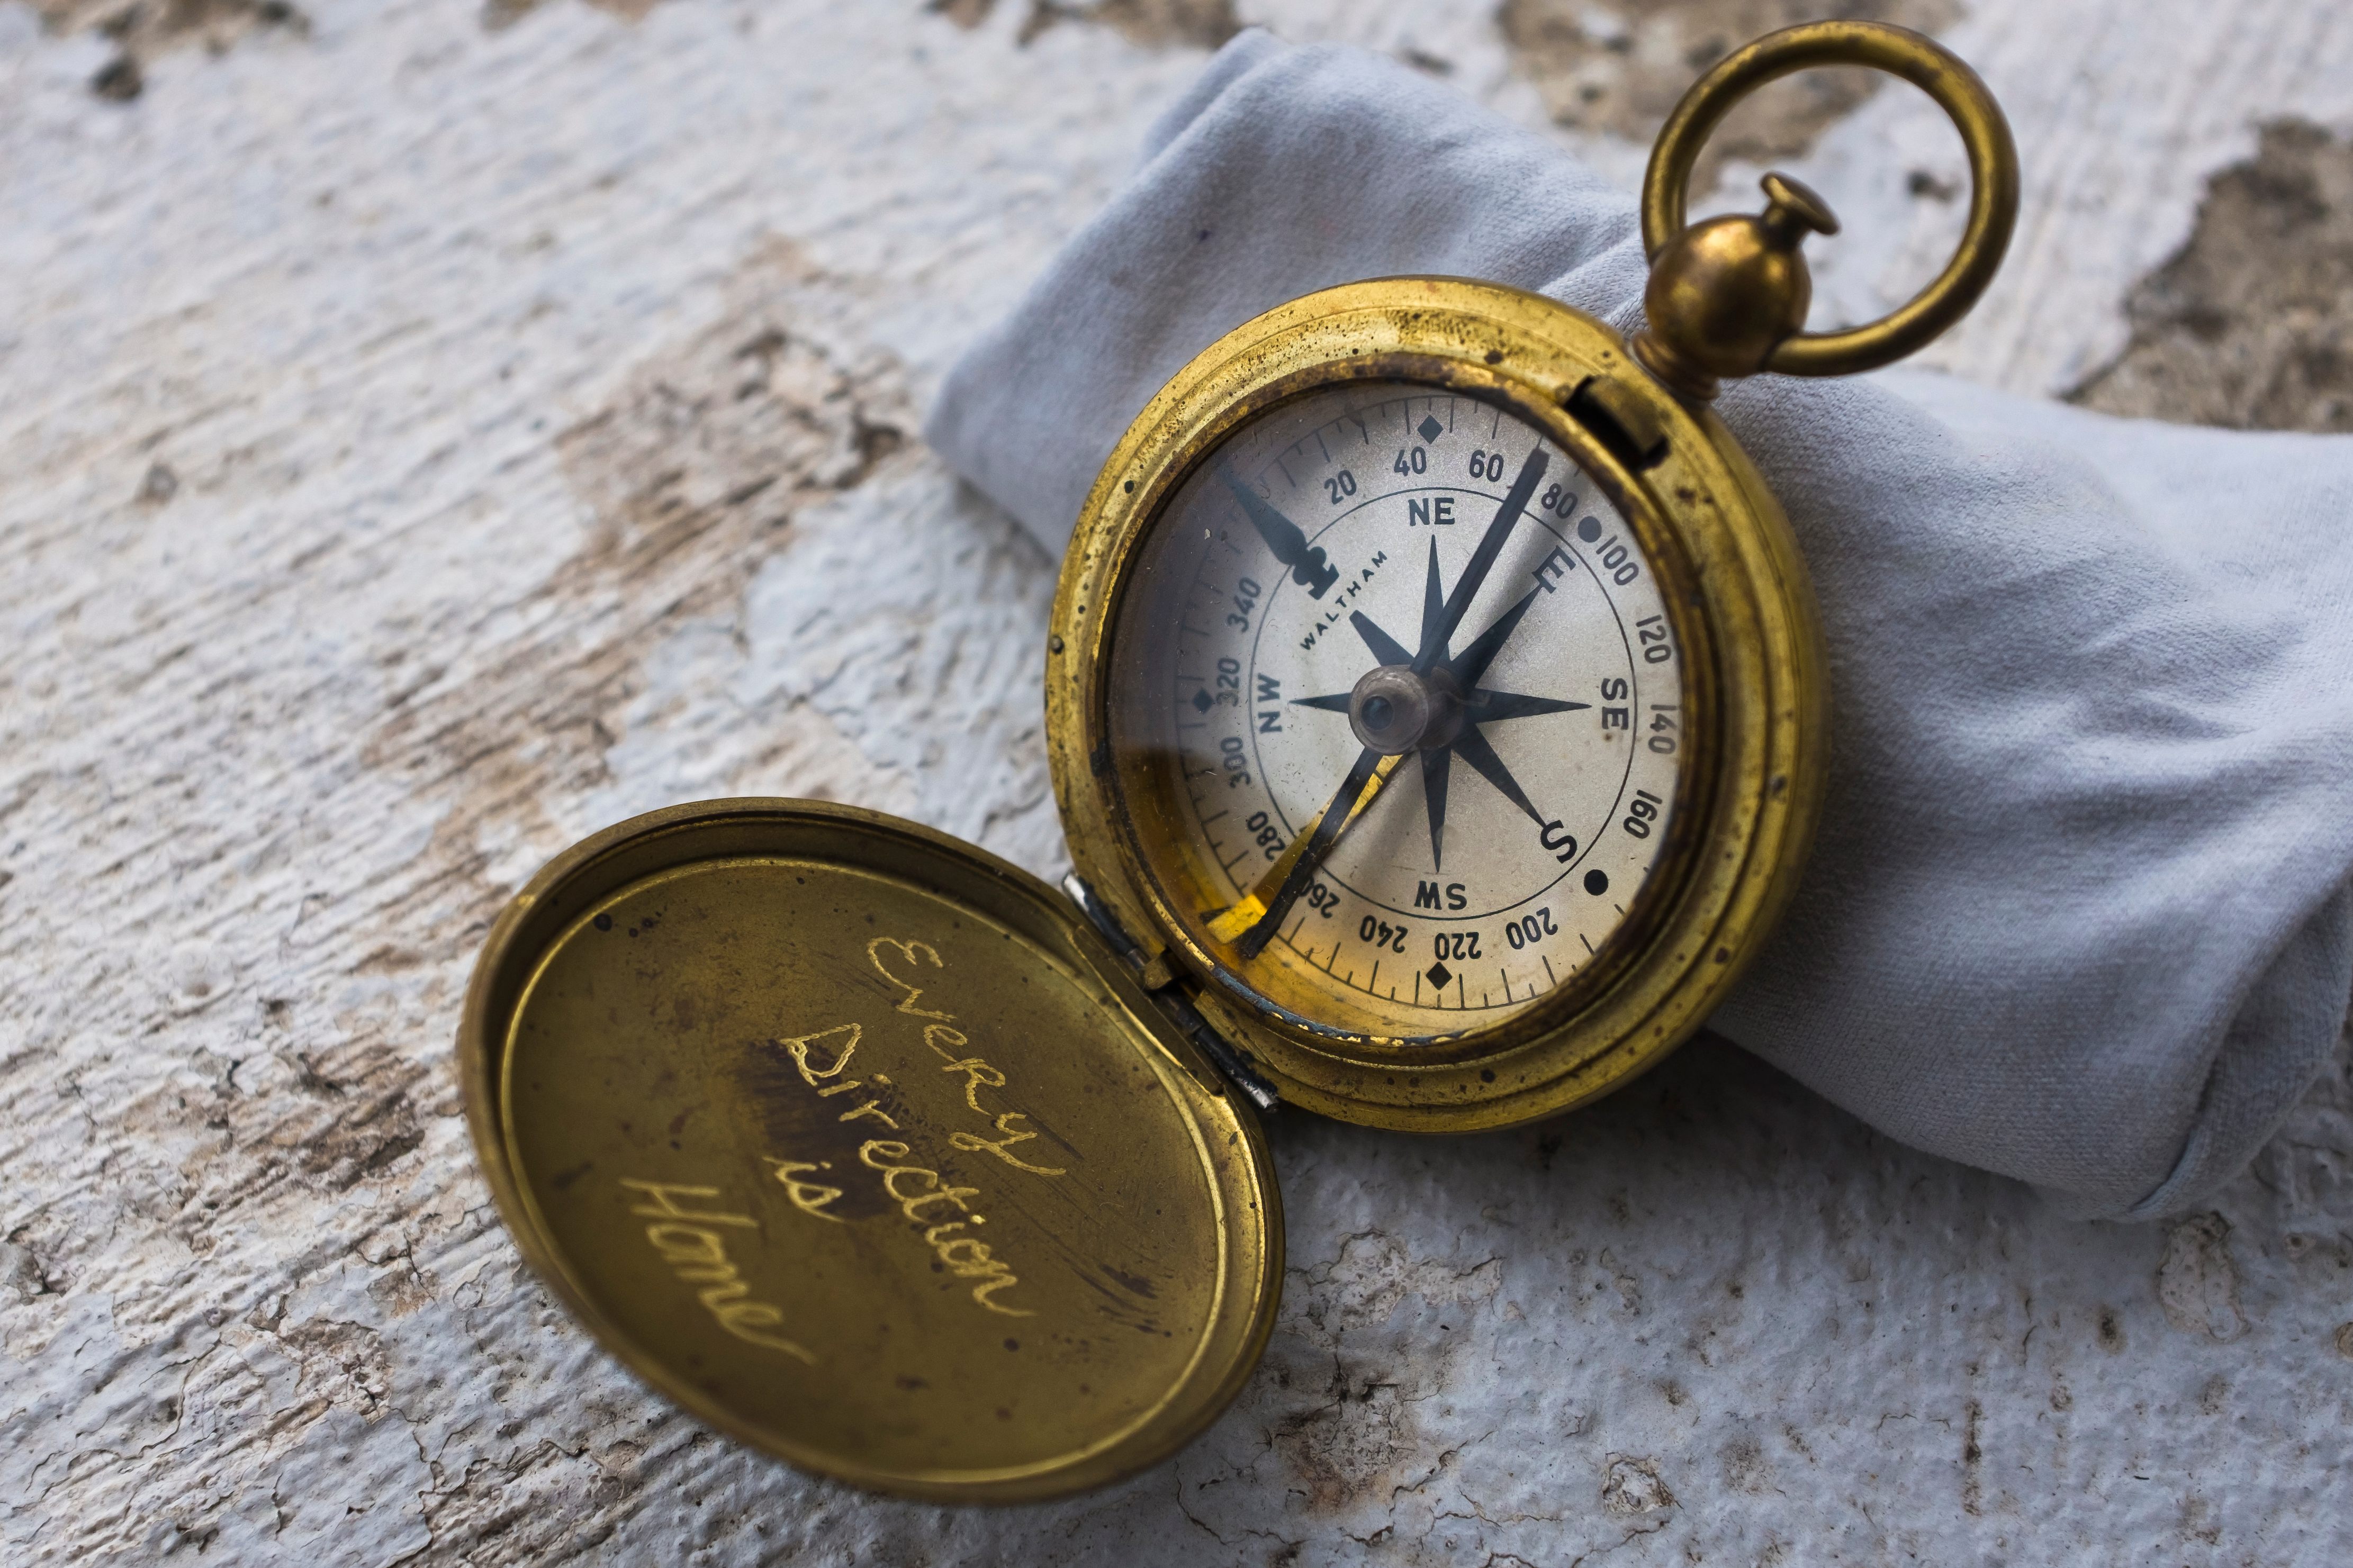
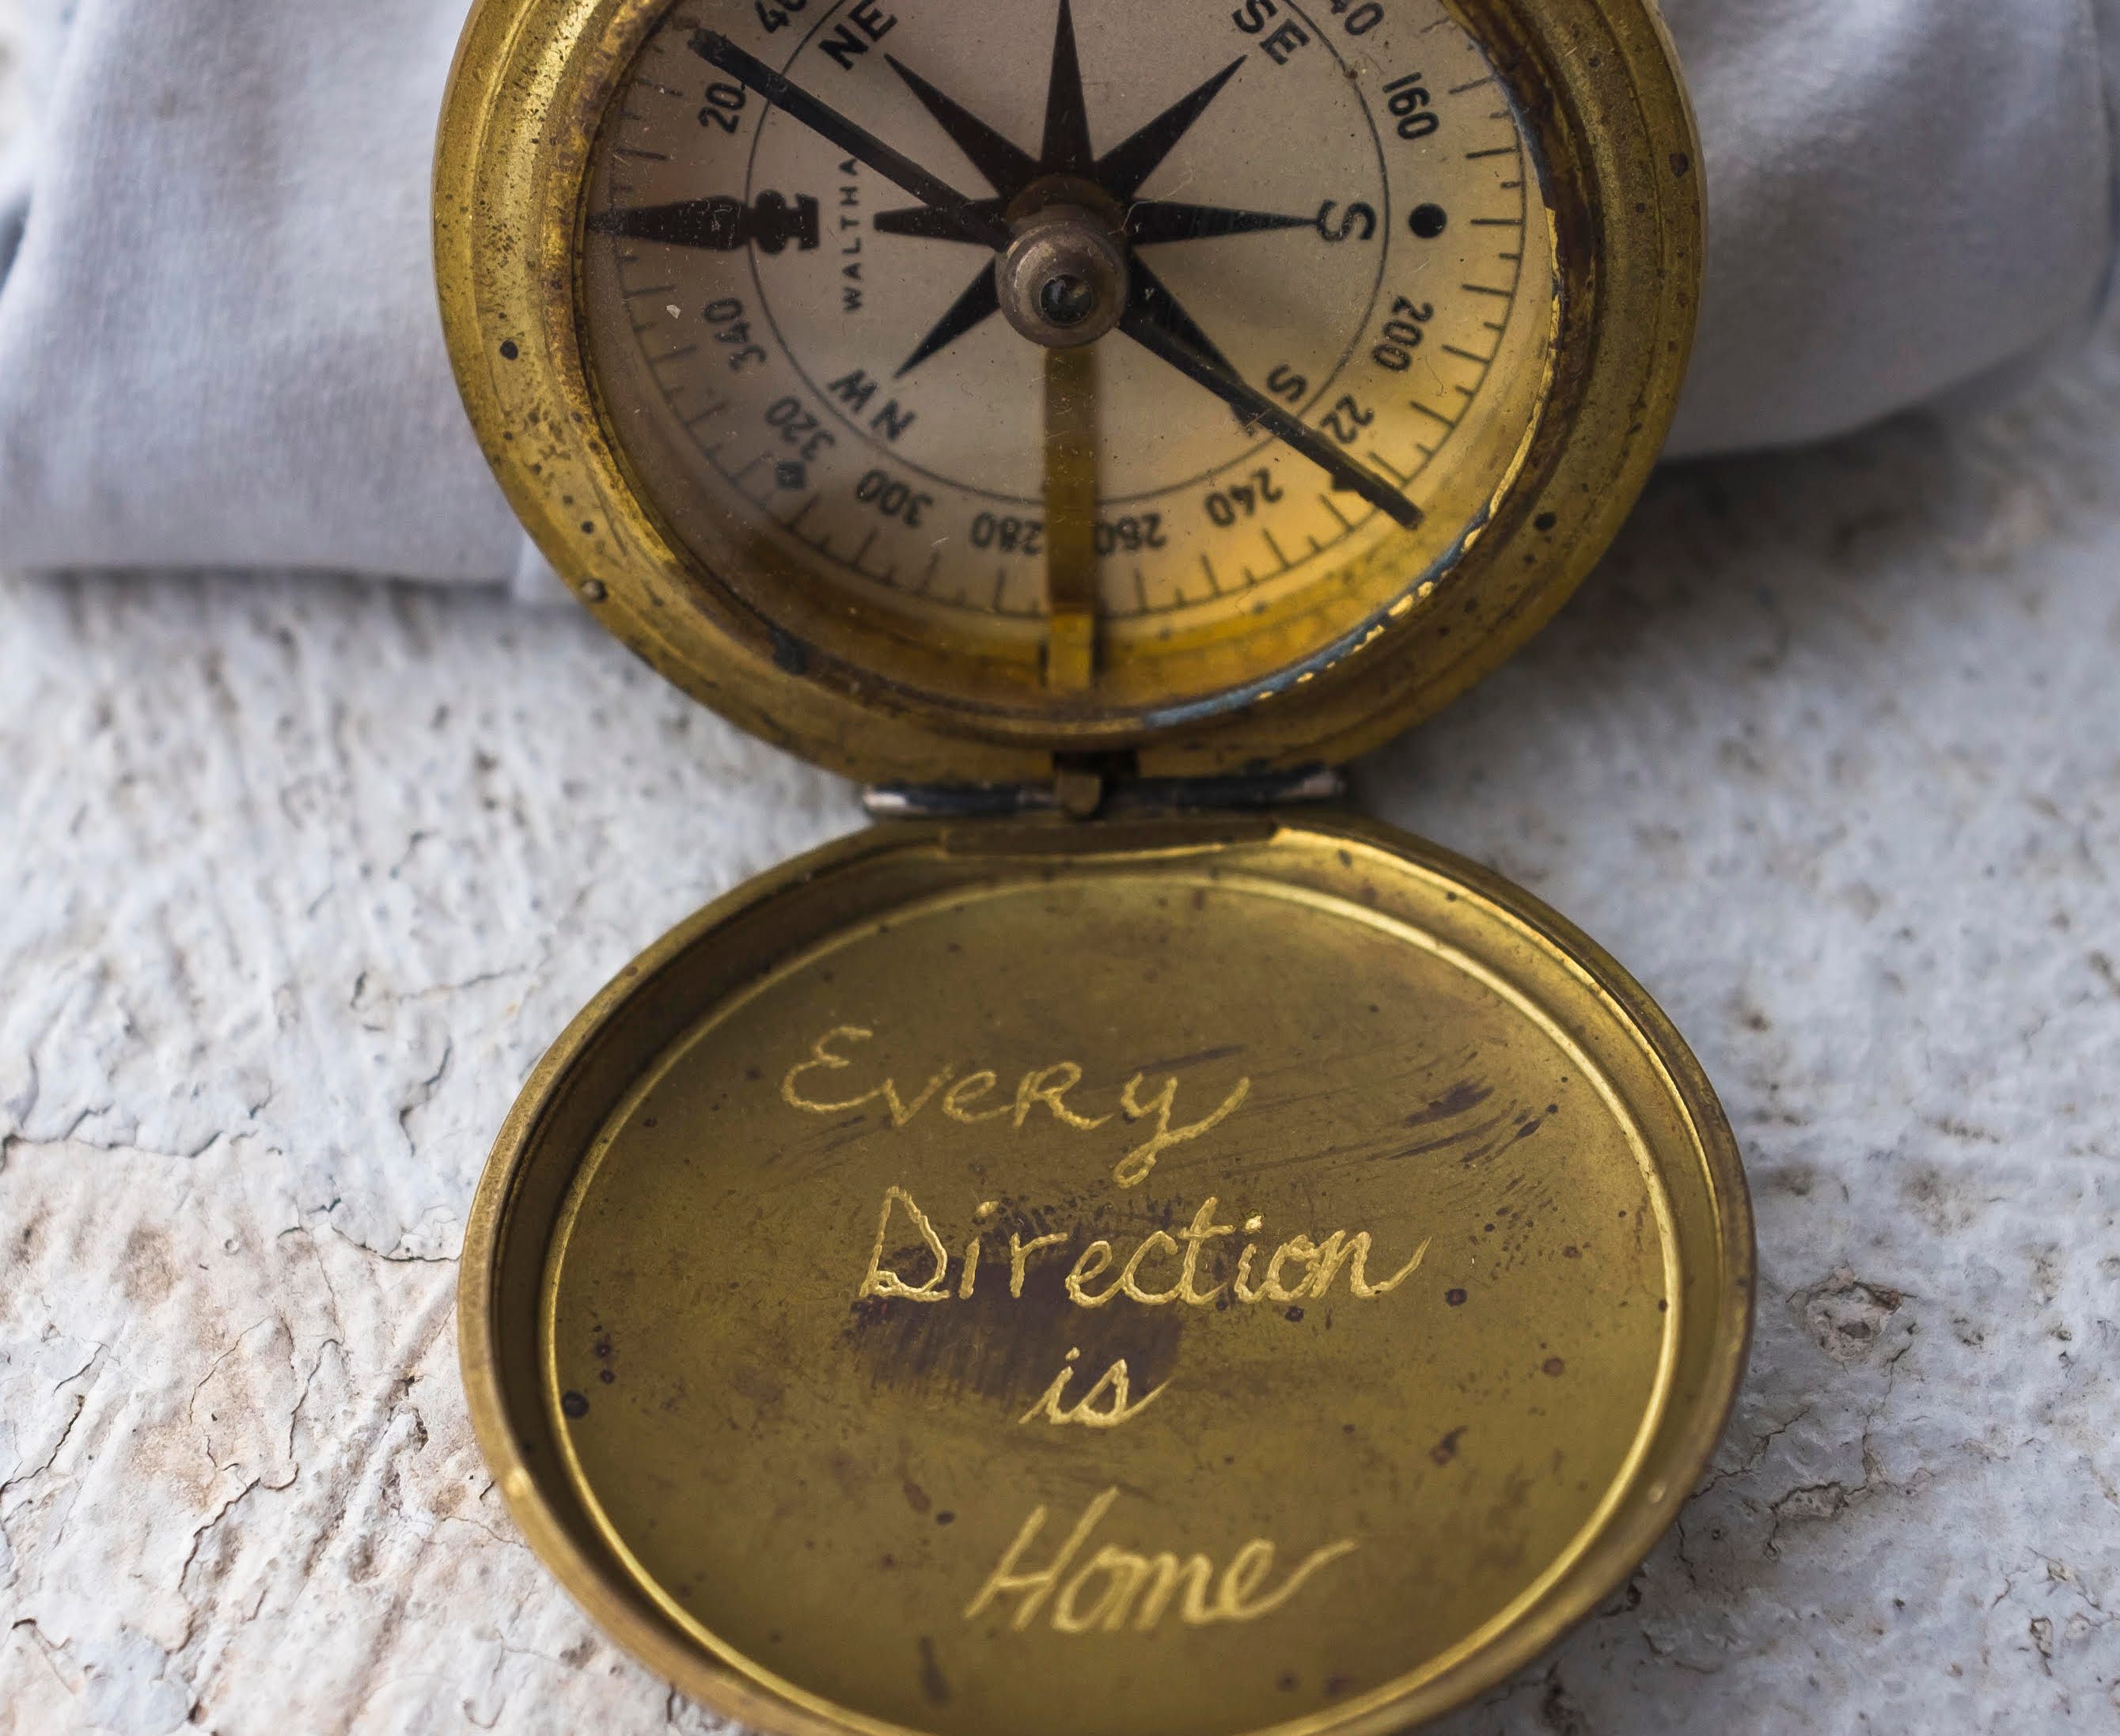
Engraving can make anything—even the most humble of junk store finds—feel a little more precious. Adding a personal message quickly and easily transforms a tchotchke into something meaningful. For instance, last year I found a WWII-era brass compass for my fiancé. I polished it up, took it to my local jewelry store, and had them etch in a phrase that—I swear to god—came to me in a dream.
How to:
- Find your surface. Most metals can be engraved, but will require different techniques depending on the materials. Gold, silver, stainless steel, and brass are all fairly standard metals for jewelers work with. Thrift stores, antique shops, or your hoarder aunt’s house are all good places to source your item.
- Find your message. I find that equal parts cryptic and personal work well.
- Find your jeweler. There are a number of different ways to make a mark, and a jeweler will tell you the best for the object you have. There are rotary tools, diamond tips, lasers, stamps (not technically engraving, but an option), and each will have a slightly different effect. The compass I had engraved was a little tricky because I wanted the message on the interior of the cover, but I didn’t want the jeweler to disassemble the piece. We opted for hand engraving with a diamond-drag method. This produced a message that looks hand-written rather than machine-made, which adds an additional personal quality. The nice thing about this is that while it’s not totally DIY, it provides an opportunity to add a thought-out, custom touch.
Rose Annis
Director of Sales Strategy & Marketing
Populate a Fishbowl Terrarium
There are many reasons to give someone a fishbowl terrarium. Maybe you think a sphere of greenery would brighten up the recipient’s space. Maybe you’ve always wanted to create a miniature world—and then fob it off on someone else. Or maybe you simply have a spare fishbowl and no fish. Whatever your motivation, this project is both easy and fun, and everyone likes to have a few living things around.
How to:
- Clean the fishbowl and rinse off some pebbles.
- Fill the fishbowl with a layer of pebbles about 1.5 inches deep, then add a thin layer of activated charcoal. Then top it off with soil, until the bowl is half full. From the side, your fishbowl should resemble a rocks-and-dirt parfait.
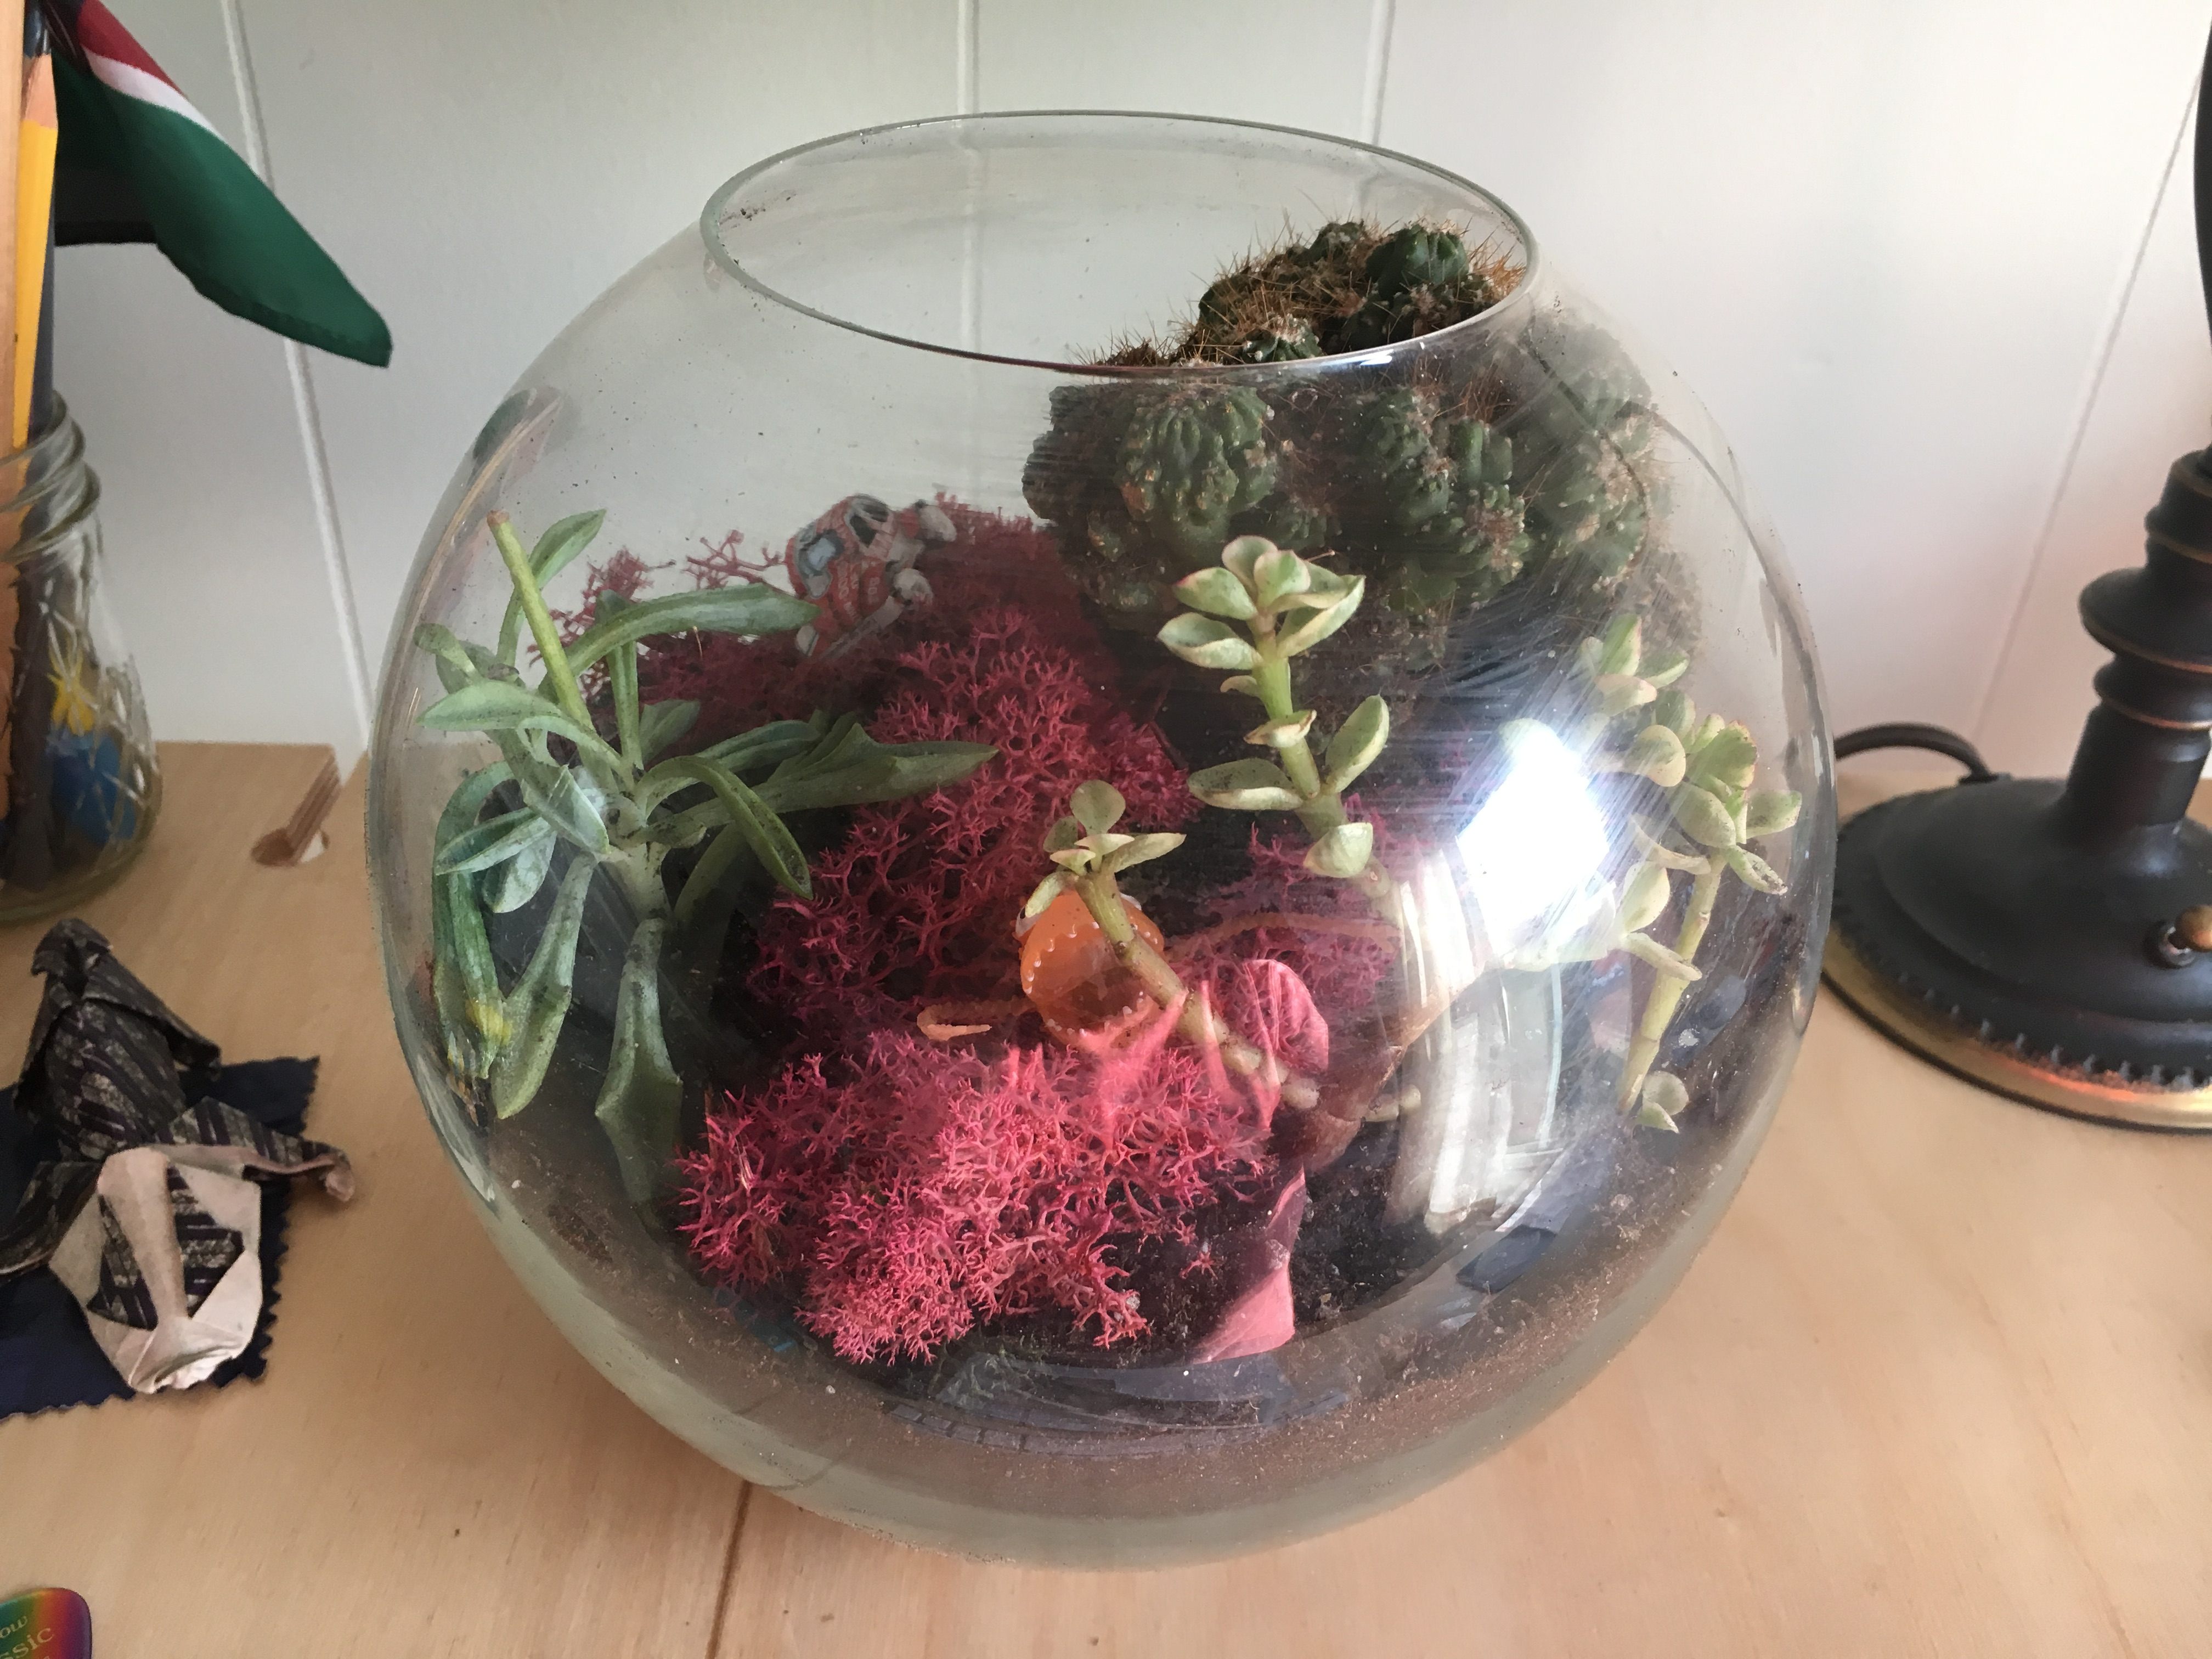
- Pick your plants! Our example fishbowl uses succulents and moss, but you can also use ferns, african violets, spiderwort, or anything else small that isn’t too picky about light and water. Unpot each plant, loosen up its roots a bit, and gently tuck it into the terrarium soil.
- Once you are happy with your plant arrangement, get some interesting decorations and make whatever scene you want.
- Let your recipient know how to keep it alive for as long as possible! This involves the right amount of light and water for the plants you chose. These succulents, for example, prefer to dry out between waterings, and like as much sunlight as possible. You might want to study up a bit, and then write out an index card with care and keeping instructions. You can even include the names of the plants.
- Stand back and admire it. The plants can feel your love.
Cara Giaimo
Staff Writer
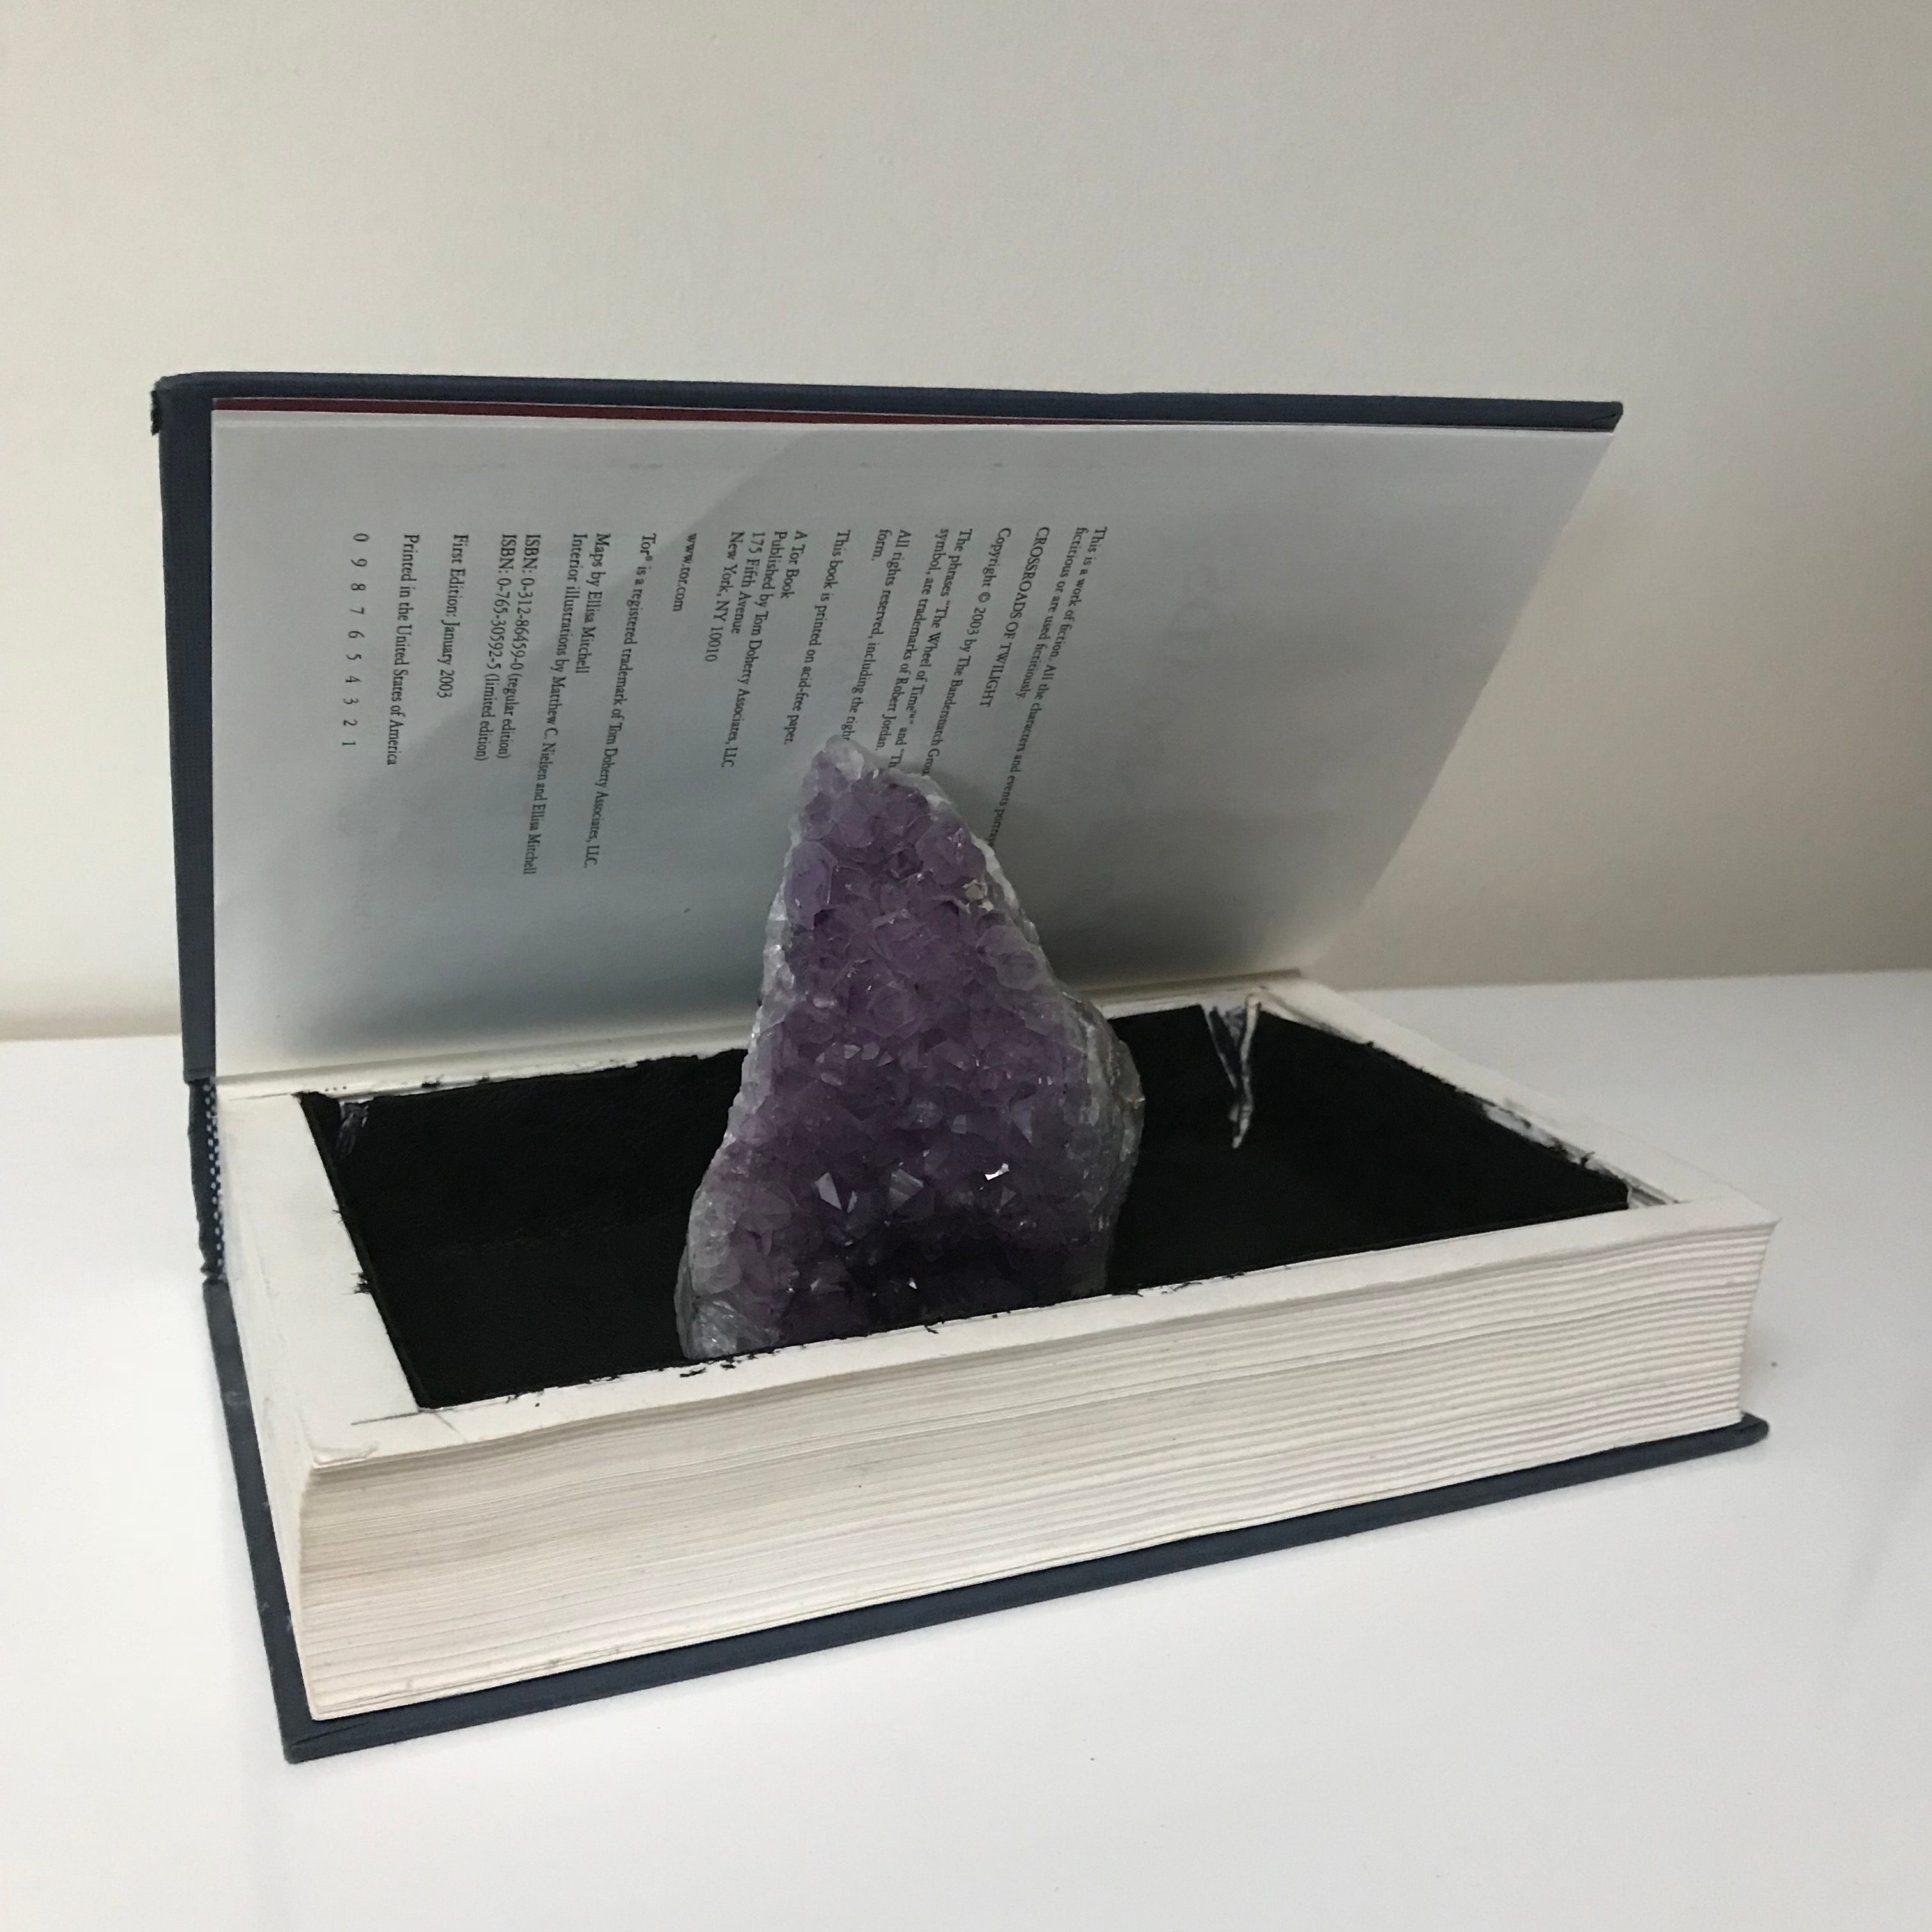
Carve Out a Book Safe
Books make great gifts. Safes, not so much. But BOOK SAFES, books with compartments hidden inside, will never not be cool, and make perfect gifts. Everyone has a book collection of some kind, so a book safe works in just about any home. You can personalize it by picking a book that fits your target’s collection, or you can even stick a nice note or another gift inside for a secret double-gift!
How to:
- Pick out a thick hardcover book. The more pages it has, the deeper you can make the safe. Cheap hardcovers can be bought off of Amazon or from the clearance rack of your local bookstore.
- Open the front cover and the first three to five pages, and clip or rubber-band them together. Use a clamp to hold the remaining block of pages in place, or you can even put a nail through each corner.
- With a ruler, draw out the borders of the intended cavity on the exposed interior page. Be sure to leave around an inch-wide margin on each side.
- With the borders drawn, carefully take a cutting tool, and begin working your way along the edges of your safe cavity. Cut a little past the corners as you go, and every 50 to 100 pages, release the clamp and straighten the corners back out before you continue digging. This step can be messy and time consuming, but try to take your time and be as precise as possible. Cut through enough pages to achieve your desired depth, but be sure to leave a few pages at the back of the book, unless you plan to seal the back cover shut. Clean scraps from the interior edges.
- Time to glue! Wrap the covers in plastic wrap to protect them, and brush plain white glue evenly along the inner cavity walls and the outer edges of the pages. Use enough glue to cover all of the edges, but not so much that it warps the pages. Close the book and put a heavy weight on it to compress the pages while the glue sets. Leave it to dry for a day.
- Once you take off the weight, feel free to clean up any mistakes or inconsistencies in the construction. Or you can make it extra fancy, with a leather or velvet lining. For even more detailed instructions check out this tutorial.
Eric Grundhauser
Staff Writer
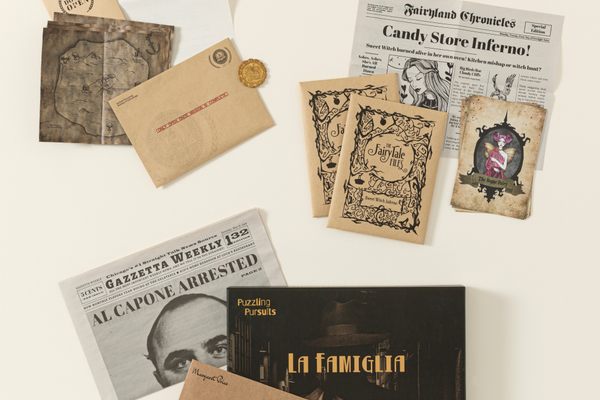
Design a Custom Crossword Puzzle
Are you short on time, but want to give a gift that captures the many unique (and embarrassing) elements of a particular friendship? Let me suggest one of my favorite go-tos: a personal crossword puzzle. One of the reasons I love this gift is because it is a unicorn, that is, a gift that could only have been given and received by two distinct people in the universe.
How to:
- For starters, jot down all of the inside jokes, shared memories, embarrassing moments, and fun facts about your giftee that you can think of.
- Next, formulate these into crossword clues, such as “Consuming cinnamon _________ on NYE will land you asleep on the basement couch by 9 p.m. while everyone wonders where you’ve gone.”
- Plug your set of words and clues into any one of the many free online crossword generators. The puzzle-maker does the rest—all you have to do is print, decorate, and give!
- If you want to get extra creative and bump this into “Platinum Gift” territory, go jumbo, and transform the crossword into a full-fledged poster. You can fill the empty squares with a photos, drawings, or doodles. The options are endless!
Tao Tao Holmes
International Experience Liaison
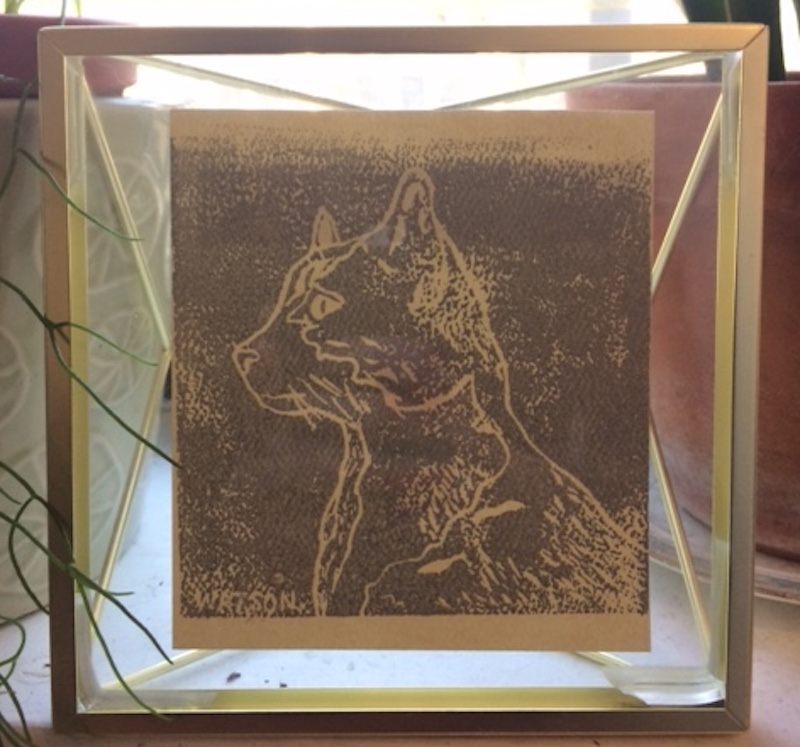
Chisel a Reusable Stamp
I went all melty when, a few Christmases back, my cousin gave me this stamped portrait of my cat, Watson. It’s relatively simple to chisel out a meaningful stamp, and this gift is even a twofer: You can use your finished product to print a framable work of art, and wrap the stamp itself, too. (So far I’ve restrained the impulse to cover an entire wall with these little imprints of Watson, but it’s only a matter of time.)
How to:
- Pick your printing surface. Supply stores such as Blick carry rubbery blocks that cut like butter. The cutting tools you’re going to use can be tricky to maneuver, especially if you’re trying to negotiate lots of angles, so go easy on yourself with something that isn’t too dense.
- Sketch your image. You can draw directly onto the block, or migrate a design by tracing it onto on transfer paper.
- Start gouging. This is where it gets a little tricky. I recommend a linoleum cutter with a few different blades that will help you navigate big areas as well as more precise details. Depending on your design, you may be cutting the positive or negative space of the image. If you want to, you can glue the other side of the stamp to a wooden backing and add a handle. (Etsy and craft stores carry tons of options.)
- Ink it up. If it is small, you can press the stamp onto an ink pad, but if you’ve gone big, you can use a roller to spread water-soluble printing ink across the surface.
- Print! Once you’ve covered the design with paint, just press it down on the paper or fabric of your choice. Clean the stamp with soap and water to keep it looking sharp, and let the print dry completely before you do anything with it.
Jessica Leigh Hester
Staff Writer
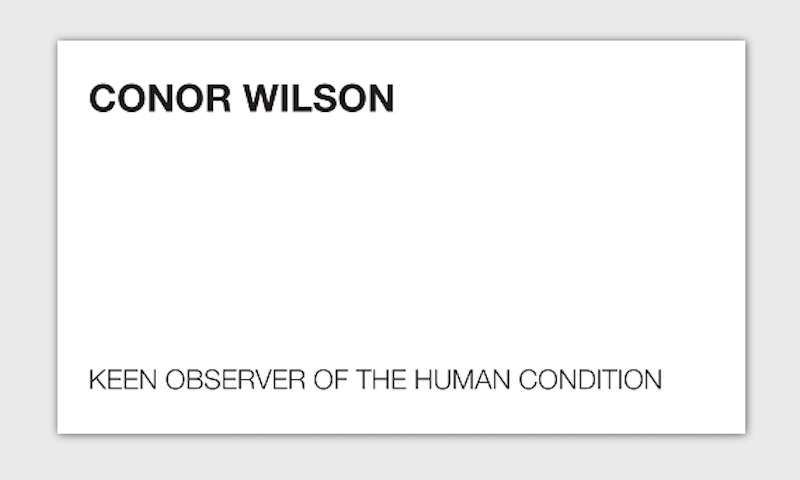
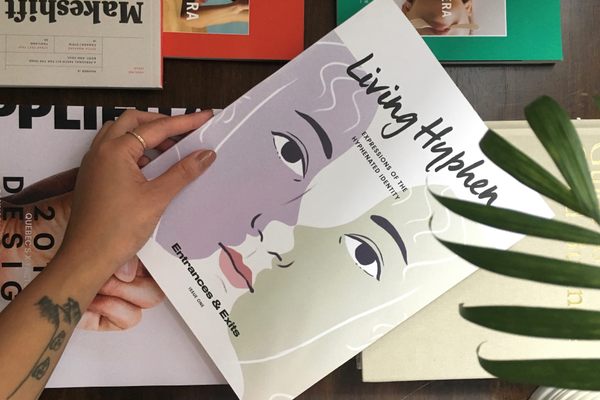
Make Hyper-Personal Business Cards
It’s tough business figuring out how to best present yourself in the world. I mean, what do you put on a business card anyway? Thankfully, this holiday season you can take the pressure off of your friends and family entirely by making them DIY vanity business cards. The cards are carte blanche for your creativity, and can range from silly to sincere. Either way, it shows your loved ones that you care about them—and have their futures in mind.
How to:
- Keenly observe your friend’s various quirks and quotes. Does your friend offhandedly quote Homestar Runner, like my friend Joey does, in casual conversation? Does he or she have a favorite or distinctive saying that encompasses them the way a resume never could? Did your friend send you a college graduation photo years ago, and it’s just been sitting in your inbox, waiting to get out in the world? This is all perfect fodder for a vanity business card. Take notes on your phone or napkins if you have to.
- Find a site where you can design custom business cards. I’m a fan of Moo.com. They have tons of templates, so you can make something cool without design chops, and the cards arrive super-fast. The card stock is thick and they look beautiful.
- Order the cards!
- Once you receive the cards, casually slide them to your friend, family member, or office friend—preferably across a long table in a boardroom.
Paula Mejia
Associate Editor


Follow us on Twitter to get the latest on the world's hidden wonders.
Like us on Facebook to get the latest on the world's hidden wonders.
Follow us on Twitter Like us on Facebook